
Ball Run Using Magnetic Tiles
The main toy we brought with us to Argentina was our magnetic tiles and the ball run set a family member got for my kids for their birthdays. We also got a cool container you can put all of the magnetic tiles in that unfolds into a play mat which is really nice for having a stable place to build a ball run like this. I wanted to show you how we built the ball run because both of the kids LOVE it!
Ball Run Using Magnetic Tiles | The Build

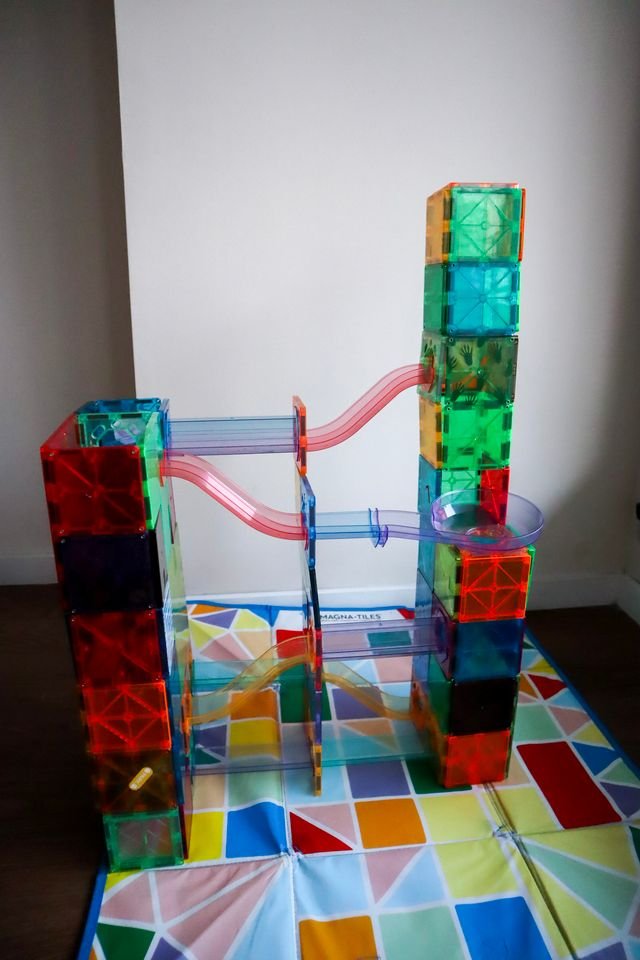
I have discovered it's best to build from the bottom up since building from the top down is much more complicated and things fall over too easily. Have a good base starting where the balls are going to end. This makes sure the balls can collect when they've gone through the entire ball run that you can easily access. Once the base is built I continue building up from there. I really like having curved pieces I can double up because if the ball is going to come around the corner, it will fall out if these are not stacked on top of each other.

The ball run set does come with its own magnetic tiles, but I did find it is best to combine them with magnetic tiles we already have to get the best result. The tracks for the ball just clip onto the magnetic pieces that are the frames for those. It's super easy to put together and then you can build the base for those to attach to around it. This specific set for the ball run comes with a bunch of different size pieces. There are long straight ones, short curved ones, longer curved ones, and short straight ones. It comes in different variety of sizes, colors and is really fun. We use a few different brands of magnetic tiles including Magnatiles, Connetix, and an off-brand from Amazon. It doesn't matter what brand you use, they all work well.

The higher the ball run goes, the more support is required for the ball run on both sides. I feel like it is better to have a thicker structure in the middle for a ball run, but when I built this, I was trying to not use all of the magnet tiles we own because the kids like to play with them and make their own structures at the same time.
The ball run kit we have has a circle drop part, which was adds another layer of fun. It is a little bit harder to connect to some of the pieces because the bottom doesn't directly connect like the rest of the tracks do, but it is workable. The last part of doing the ball drop is the actual part where we can drop the balls into. Usually I try not to make this very tall. When I have in the past I notice the balls come right off the track because they just have too much speed going down so I like to shorten that drop. It works so much better that way!
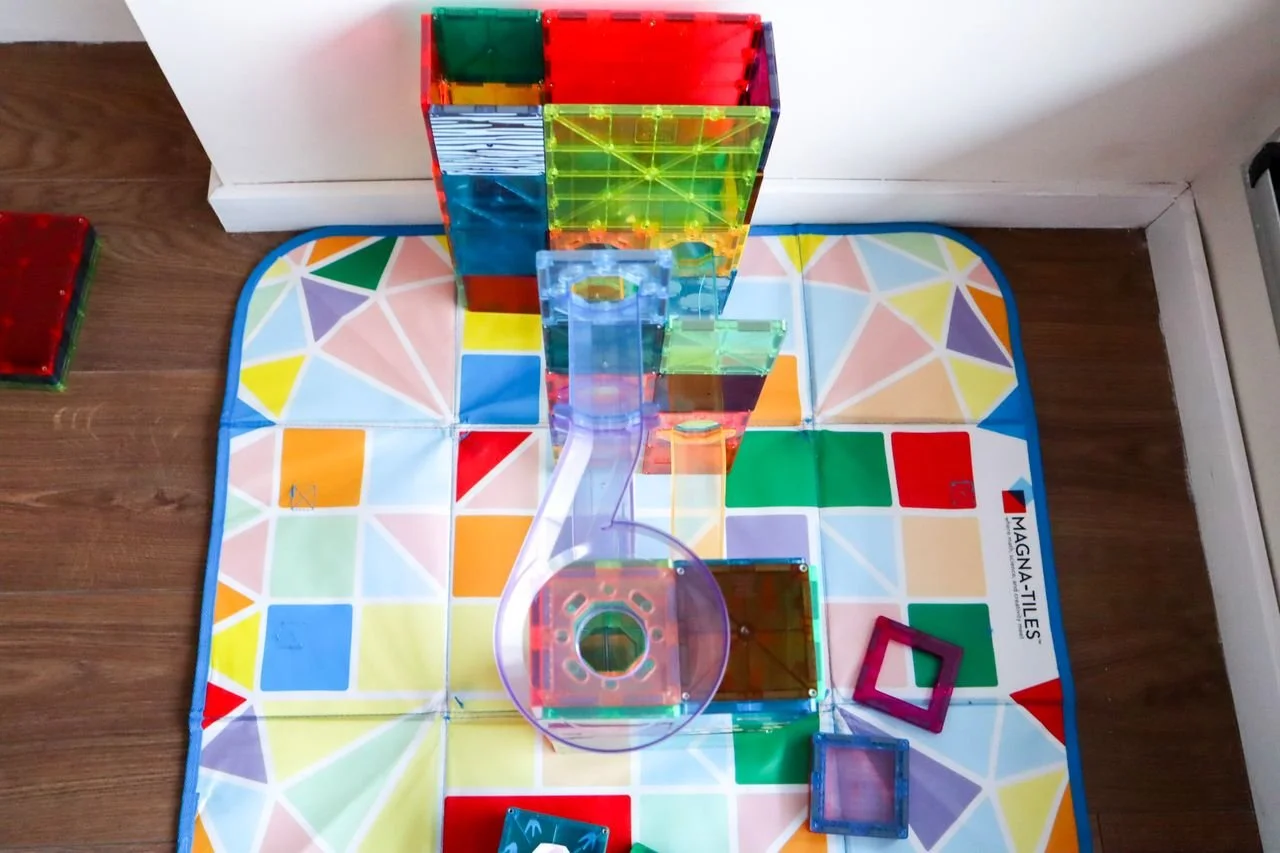
I love how this comes together. This setup works for my 15 month old. He absolutely loves it. I've made it so he can actually get the balls into the drop at the very top and then he can open the little doors at the bottom, pull the balls out and start over. And I will say the he is a lot more into it than I was expecting! He actually tries to be way more gentle with it than he is with anything his sister builds. He normally just tries to crash her builds and walk away. Instead, if I build him a ball run track he can play with this for at least 30 minutes before he very accidentally knocks it over, which is totally fine because we can just rebuild it. This toy has provided so much entertainment for us and we are excited to try out new things with it.
