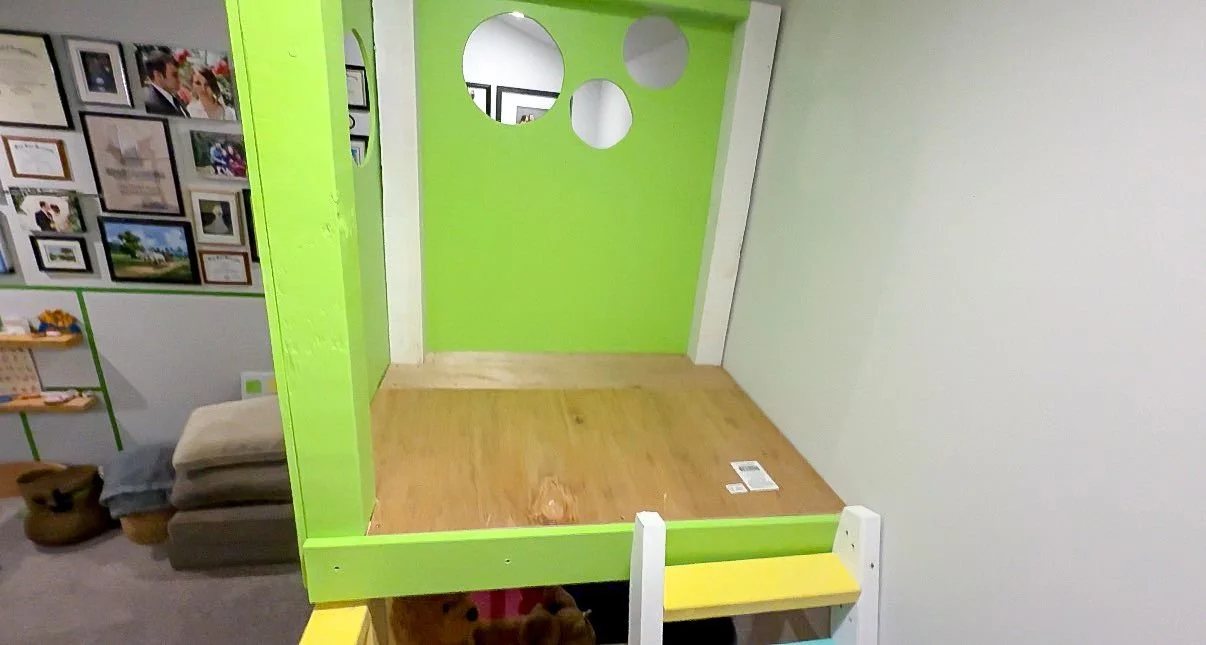
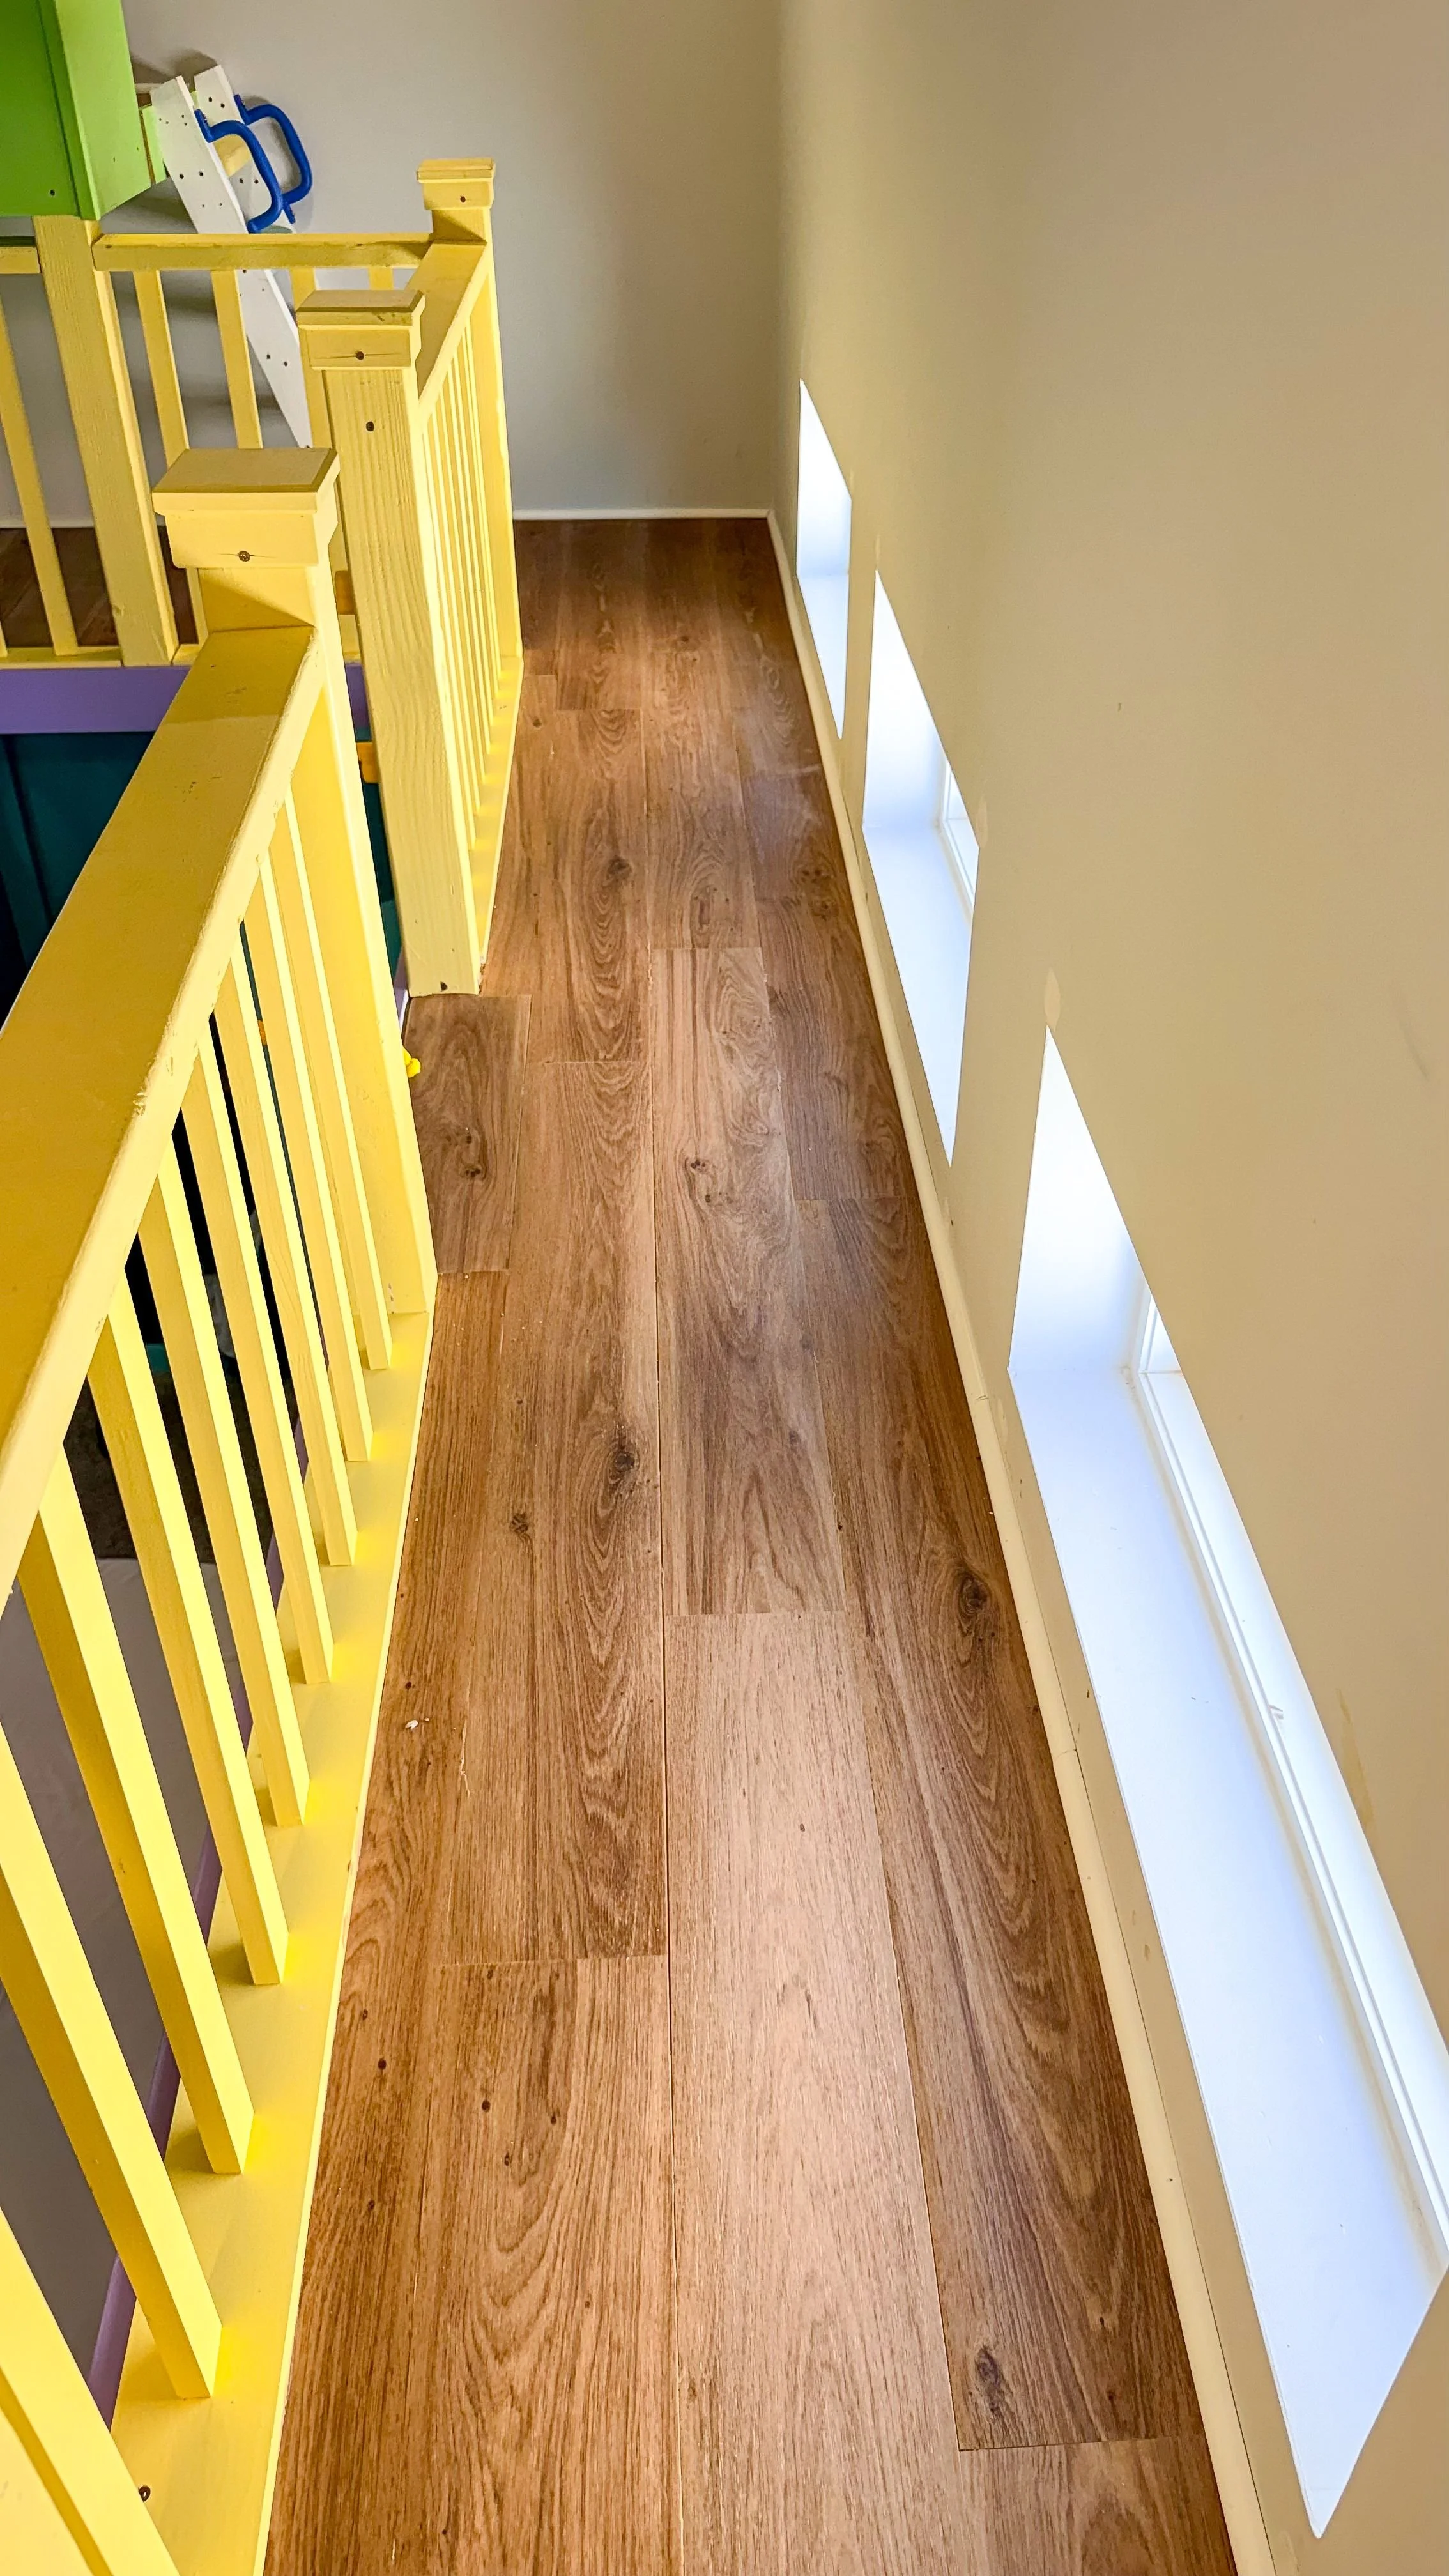
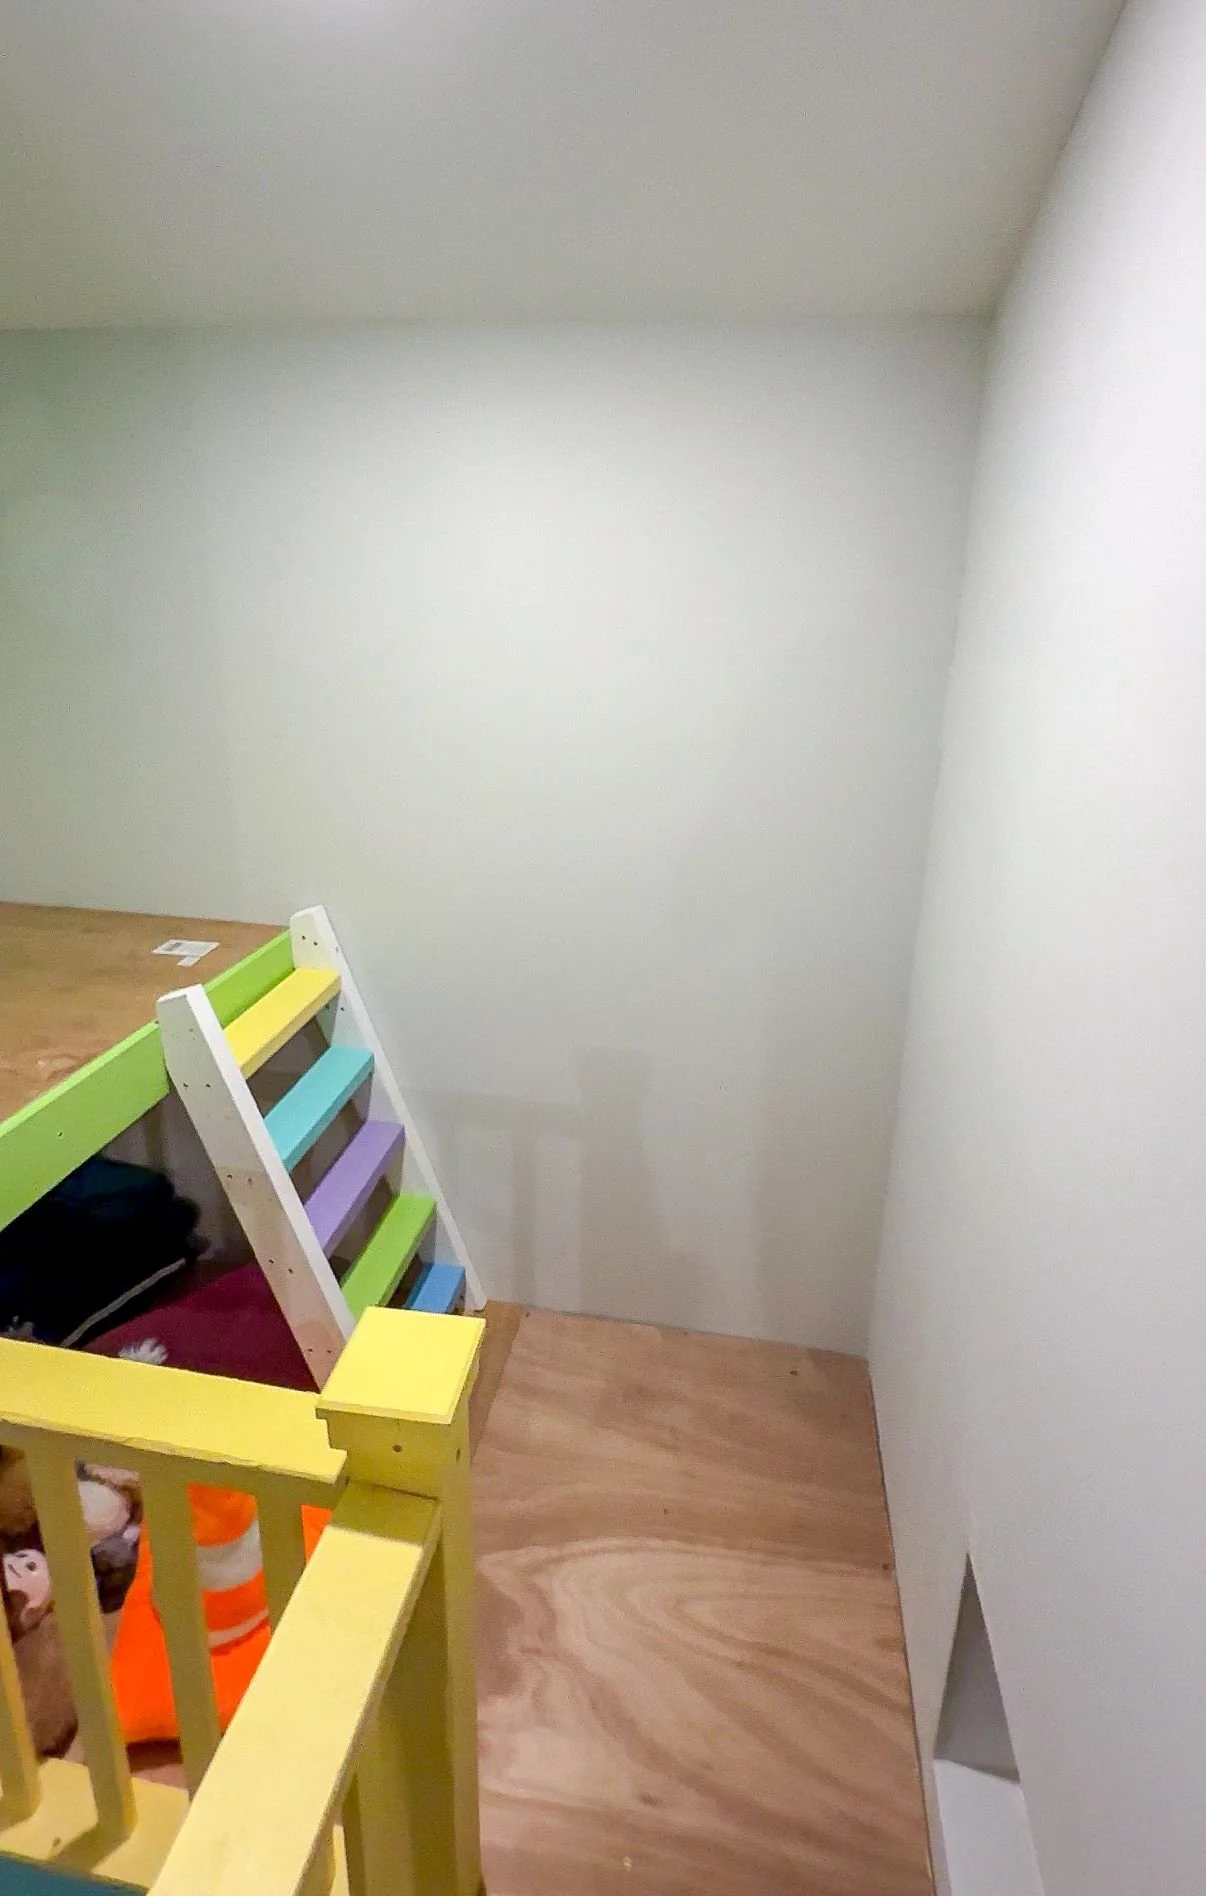
We're back again with another installment of making over my son's room! This space has come SO far. If you are new make sure you go back and look at the other parts. I have created this dream space little by little in my son's third floor room. He has the entire third floor of our house and so far I've redone the closet, made his bed, created a slide platform with a reading nook underneath, built a bridge between the two sections, added railings, built a loft above the bed, made a rope ladder and a ball run with a ball catcher as well as a ton of small details. Today, we're tackling the flooring in the loft.
Making Over My Son’s Room Part 10: Flooring
I went to a store called Southeastern Salvage here in Chattanooga. They have a bunch of leftover stuff from other projects that they sell at great prices. I got a laminate flooring from Shaw Floors that I decided to use up there. I wanted something that we could bounce balls on, that wasn't squishy like foam, and that also kind of matched the flooring that we have in the rest of the house and found one that checked all of those boxes.
Before I could lay anything out, I needed to make sure everything was cut correctly. I laid all of the pieces so that all I had to do was put the adhesive down and then lay the pieces on top. So I went around the entire second and third floors of this play structure, and laid out all of the flooring. I staggered it like you would with any laminate flooring so it doesn't look like everything's lined up. I was able to cut these pieces just with a box cutter which made the whole thing much simpler.
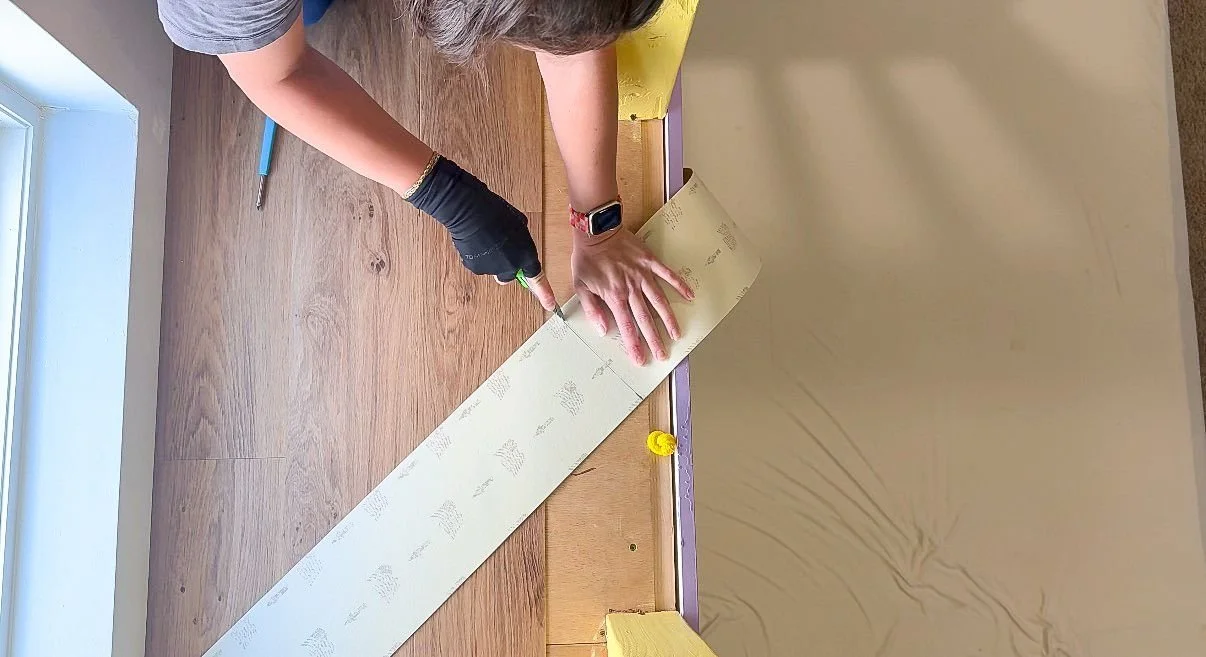
Before I could actually install anything, I needed to make sure everything was cut correctly. I laid all of the pieces so that all I had to do was put the adhesive down and then lay the pieces on top. So I went around the entire second and third floors of this play structure, and laid out all of the flooring. I staggered it like you would with any laminate flooring so it doesn't look like everything's lined up. I was able to cut these pieces just with a box cutter which made the whole thing much simpler. There were a few awkward spots that I had to work around, like the jumping off point where the rope ladder comes up, and the base of the ladder going up to the third story loft. Other than those spots, it actually was really easy and everything measured really well. I bought a few extra pieces of the flooring so I had some wiggle room if I messed anything up and didn't even end up needing to use them.
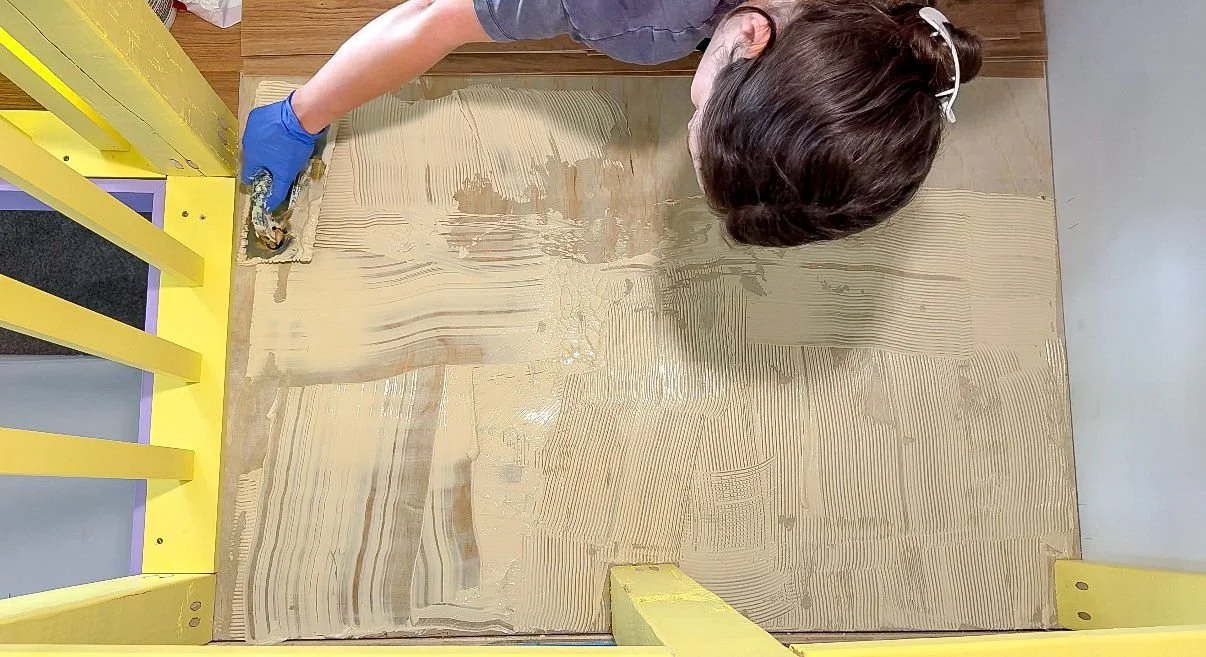
Once I had all of the pieces cut, it was time to actually lay everything. I used a trowel and floor adhesive that I got at Ace Hardware, and I laid down all of the pieces. When there was adhesive that came up between the seams, I just used a baby wipe to wipe that off. If you are not using baby wipes when you're doing projects, you need to! They're inexpensive and remove everything that needs removing. They are really the best cleanup tool ever. One of the things that saved me on this project was the project knee pads that my husband got me last Christmas. Wearing those knee pads was a lifesaver and saved my body from being sore for weeks.
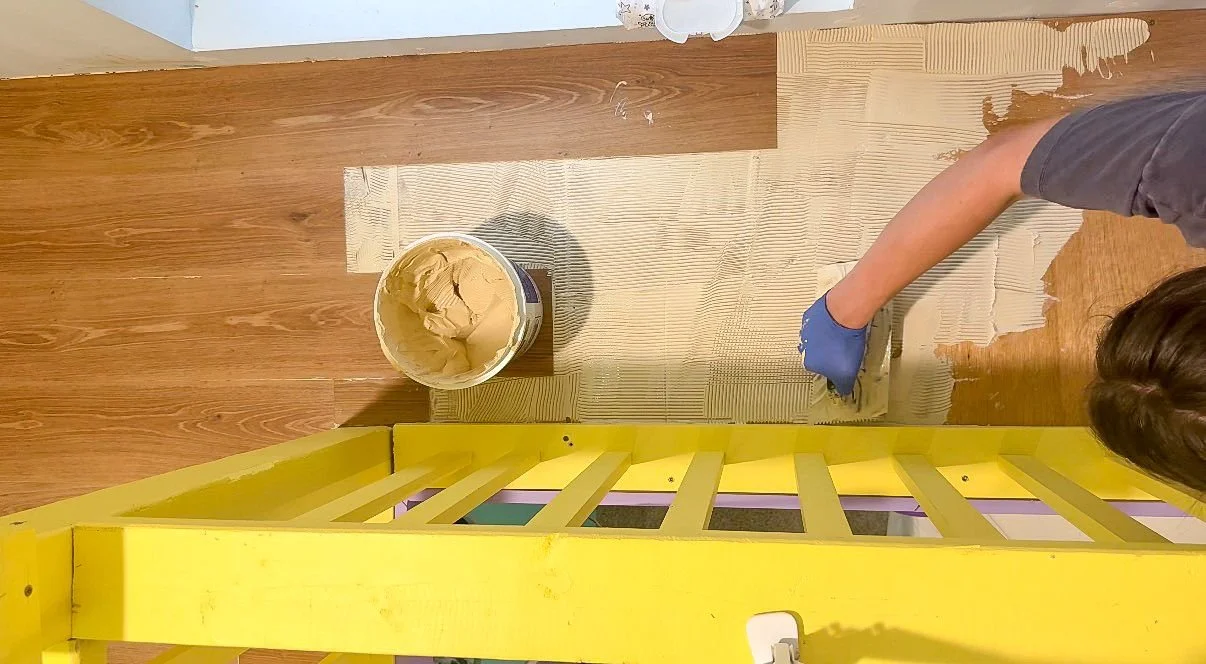
I did have to split this project up over two days because I was doing it when my son was at preschool, but it was a pretty simple project overall. The trickiest part, by far, was the jumping off point, which is where the ropes for the rope ladder come up into the structure. In order to make that work, I took the piece of laminate and I drilled holes through it so that I could pull the rope through, and then I laid the adhesive down and put the piece of flooring on top of it. After laying everything I decided that I wanted quarter round around the walls, just because I felt like it made it look more finished. It really just made the whole project feel finished. I'm really happy with how it turned out and know that the kids are going to love it. Stay tuned for the next part of this project: the Murphy bed!