
DIY Spring Flowers
Welcome back to Breezing Through! Its been a few weeks since I have consistently posted. I've had some health issues going on that have made me not feel well enough to do a lot. I'm slowly trying to figure out what's going on, though, so thanks for being patient with me! This week I decided that I was sick of not creating and building because they bring me joy so I'm starting with something small to fill my cup. Today, we're doing some cute and simple pipe cleaner flowers.
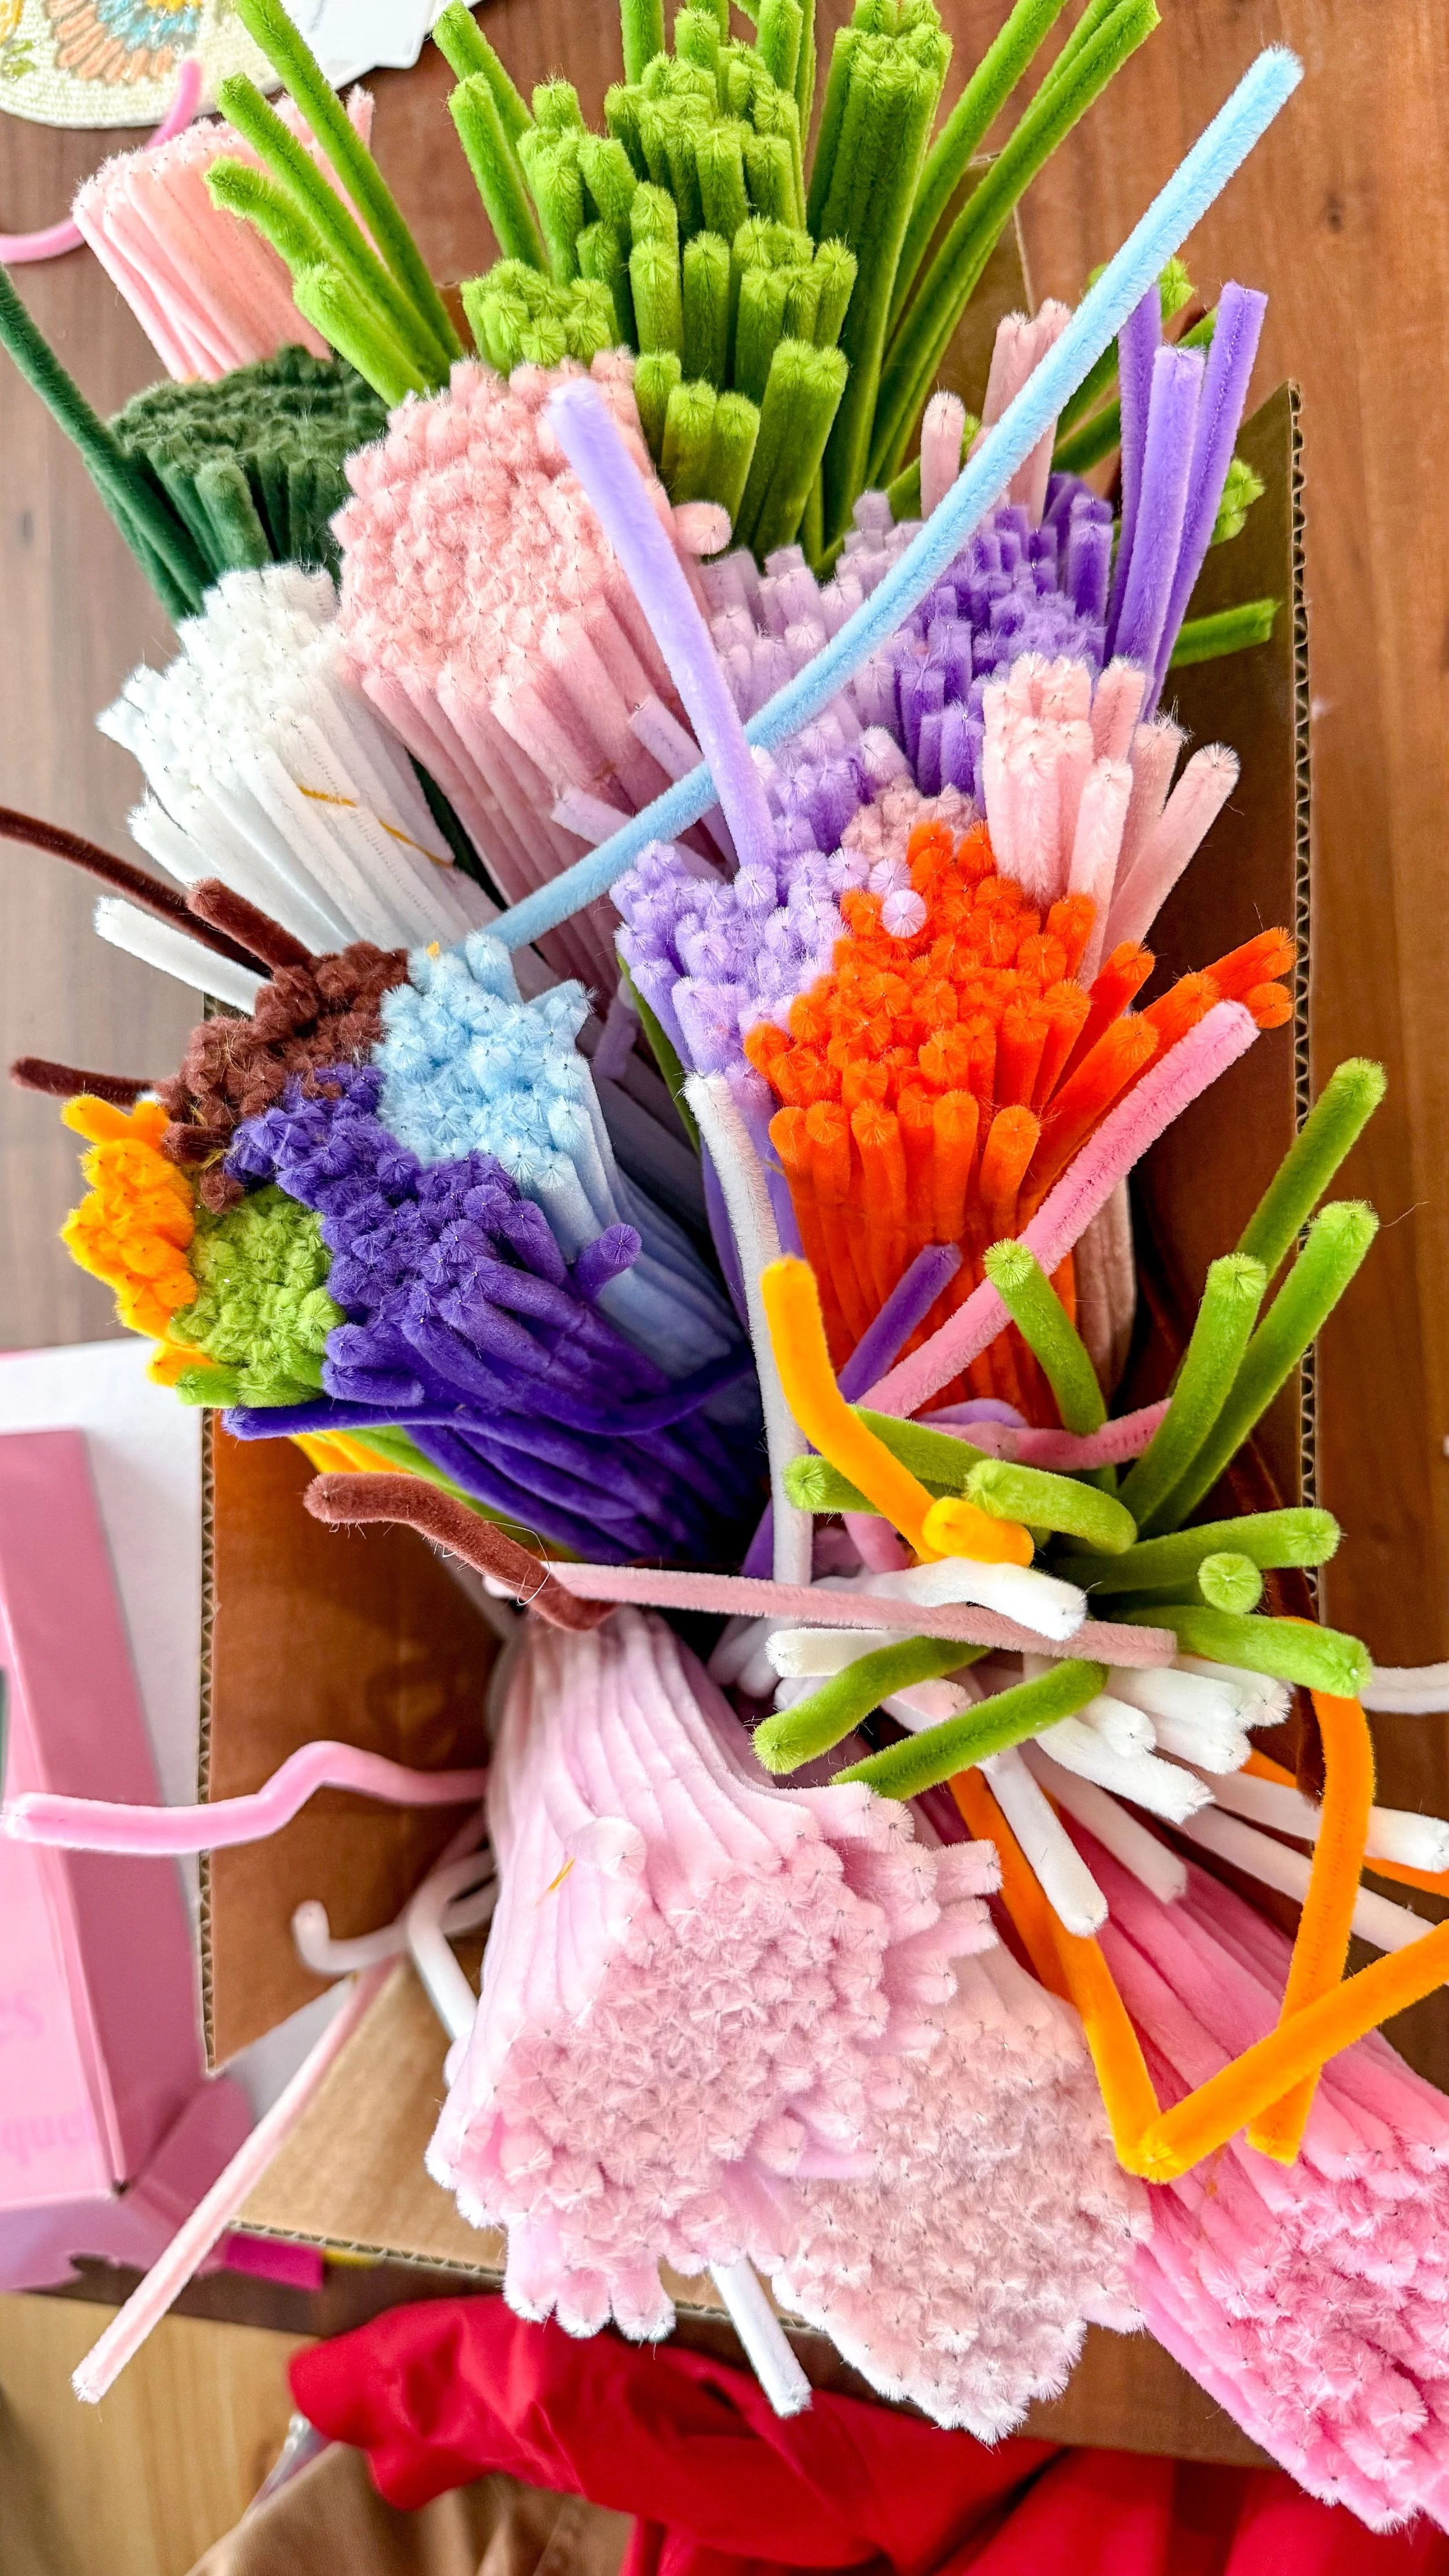
First things first, I bought a big assortment of pipe cleaners from Amazon. I tried to get them at local stores, but they were really hard to find, especially in the colors that I wanted. The first flower that I did was a rose with a gradient color to it. I started with two full length green pipe cleaners. Then used three light color, three medium and two dark shades of the same color to create that color gradient. I folded all of them in half and then cut them at the fold. Cutting the pipe cleaners makes it so you have enough for two full flowers. I took the bundle and lined them up lightest to darkest, then took the end of one of the darker ones and wrapped it around the middle of all of these pipe cleaners, kind of folding it in half. Then I took the end of one of the medium shades and twisted it into the darkest shade creating a stem at the bottom. Once that was done, I started separating all of the other colors. I pulled all of the colors except for the lightest ones to the center, and then pulled the lightest ones down creating an octopus kind of effect.
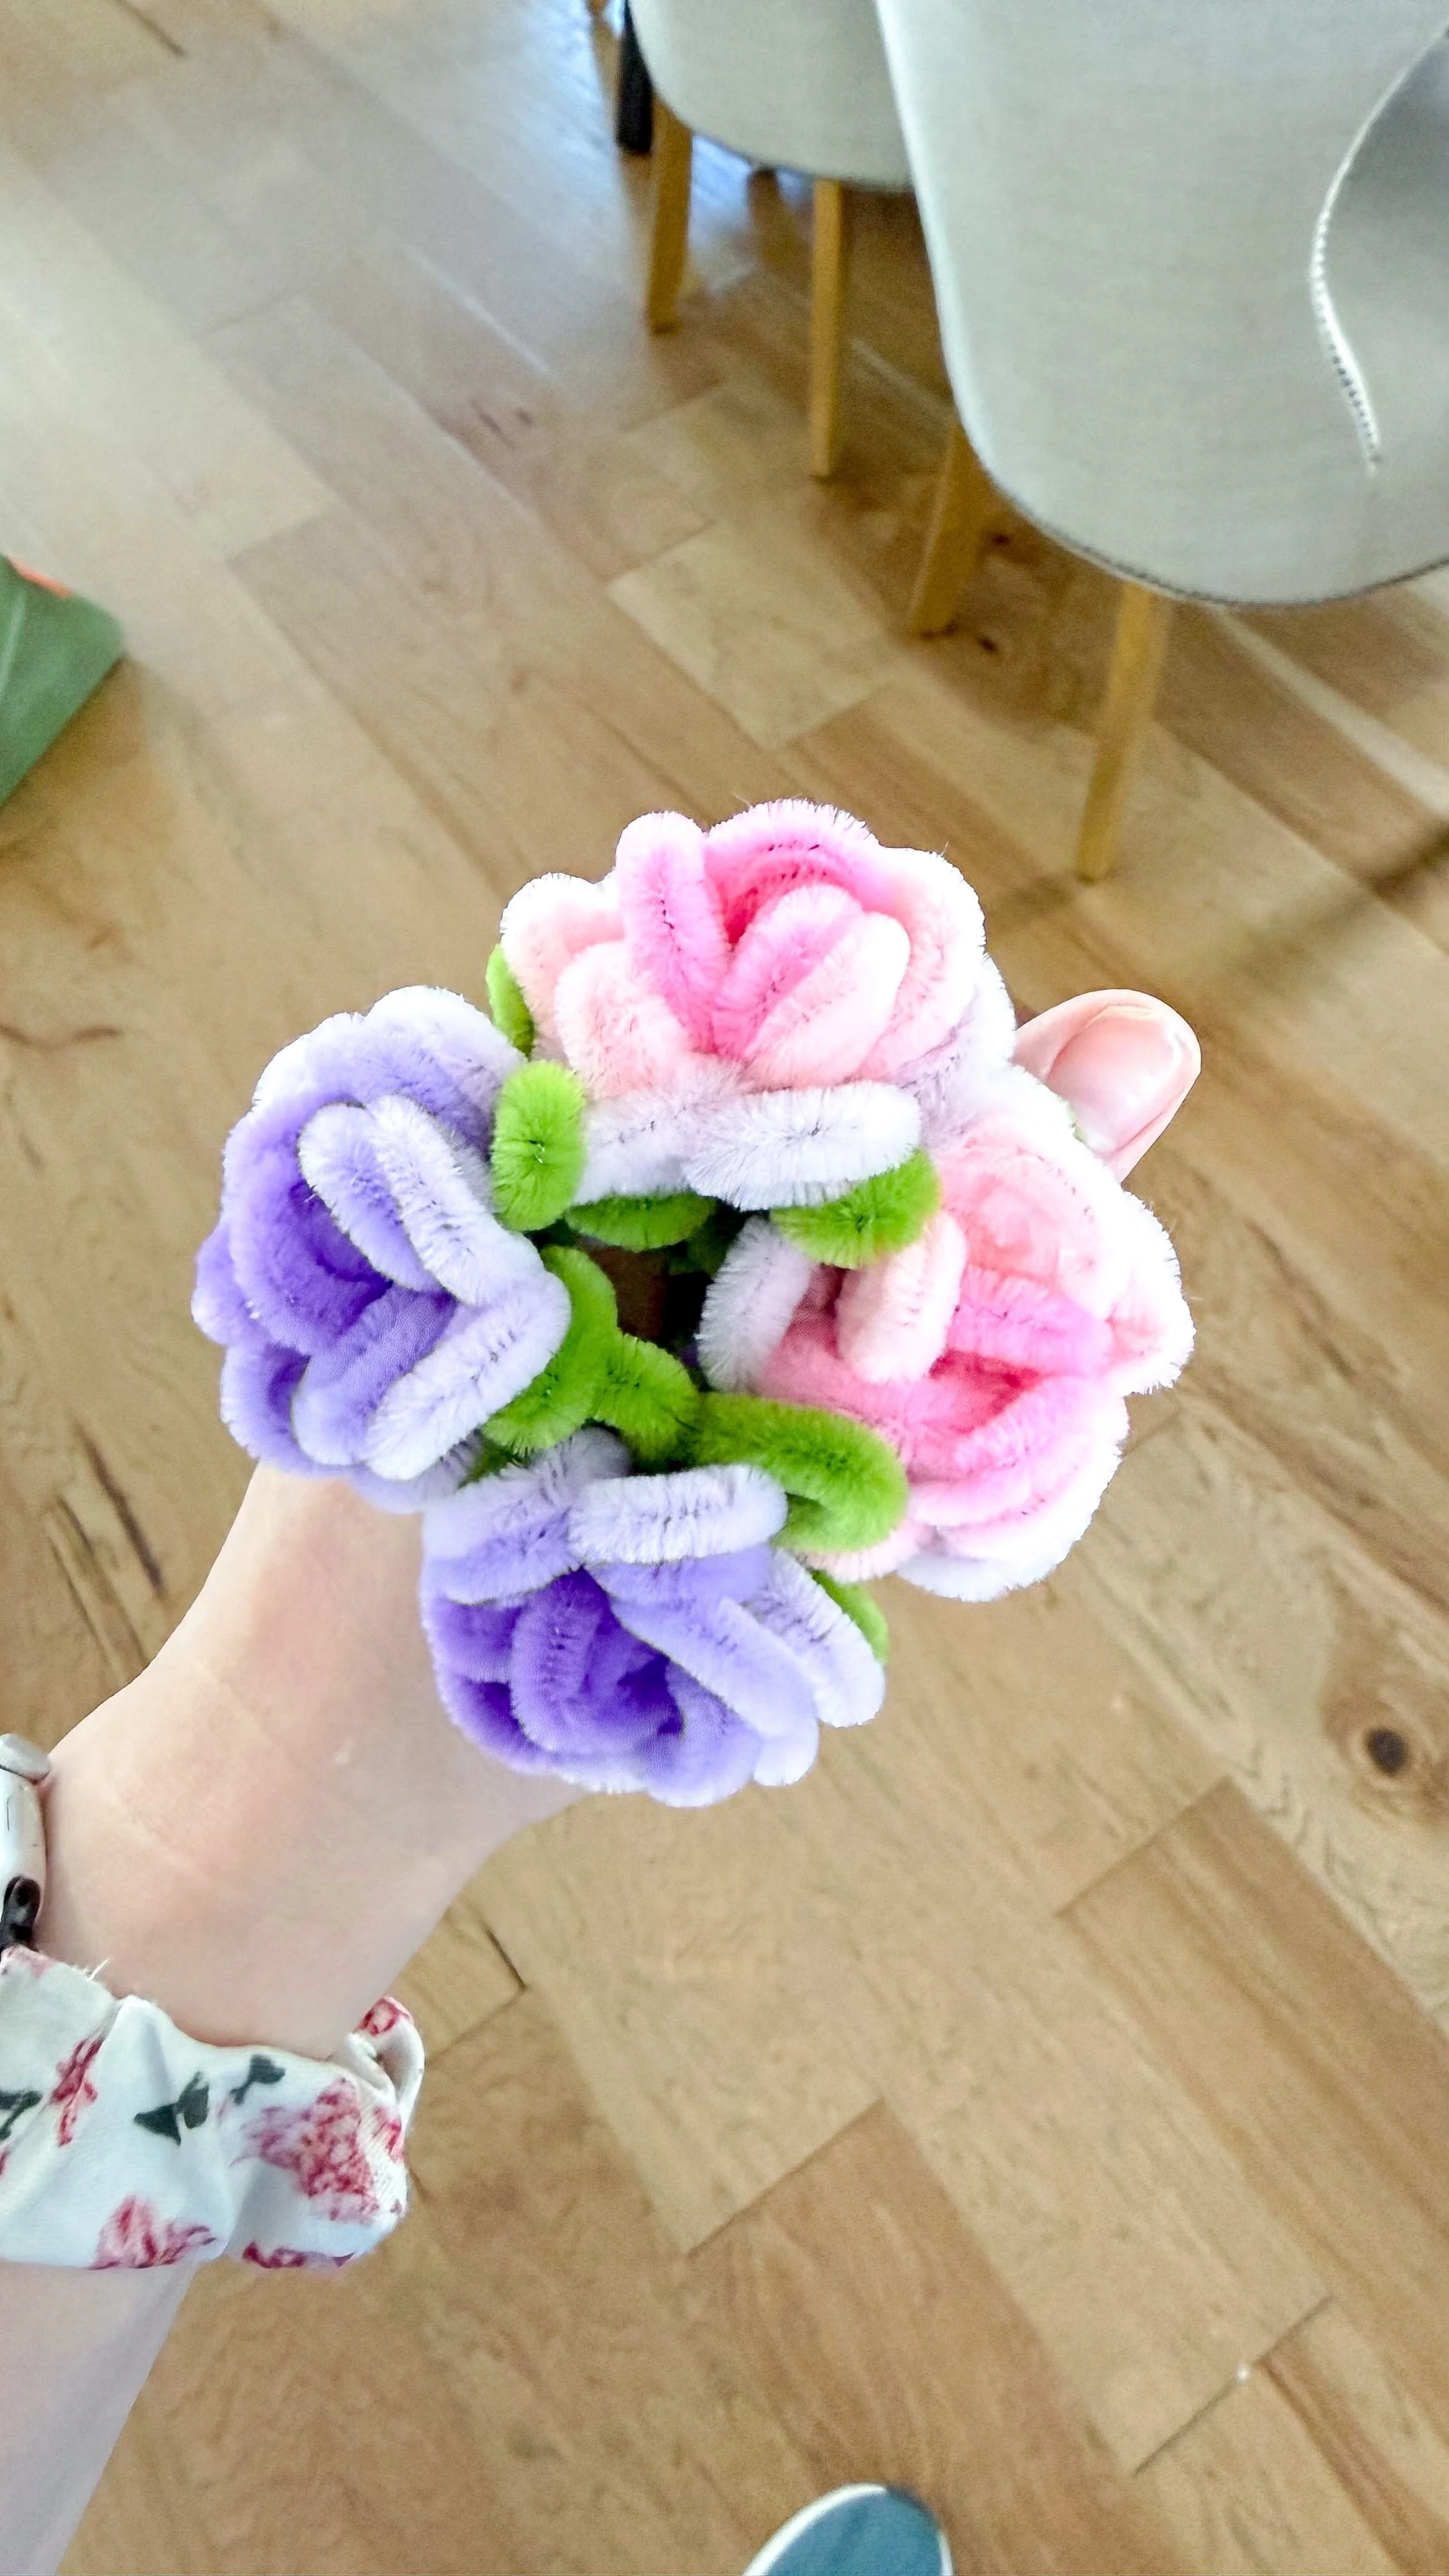
Then I started rolling the ends of the lightest pipe cleaners in onto each other so that I was making a tight spiral. I repeated that for every one of the light pipe cleaners, making 6 total that create the outer petals of the flower. When that was done I repeated the same thing with the medium pipe cleaners making 5 petals total. Lastly, I did this same process with the darkest shade making three total petals. Once all of the petals are made I went on to squish it all together in the middle. It is gonna look squished, but trust me, it looks better at the end that way. I want the flower to look really good from every angle, so I took the green pipe cleaners, made a loop and twisted it then made a second and third loop and brought them around, tucked them through the middle and to the other side creating part of a stem. Then I took both of the green stem pieces, put them flat side to flat side on the underneath side of the flower, and then twisted them around each other and around the stem from the beginning. This pulls everything together and makes it look cute and cohesive. Lastly, I attached a piece of floral wire which makes the stem long and strong enough to go into a vase and floral tape to wrap the flower to the stem. I love this flower because it doesn't require any hot glue, unlike the other two flowers that I'm going to show you. So its pretty mess free and kid friendly.

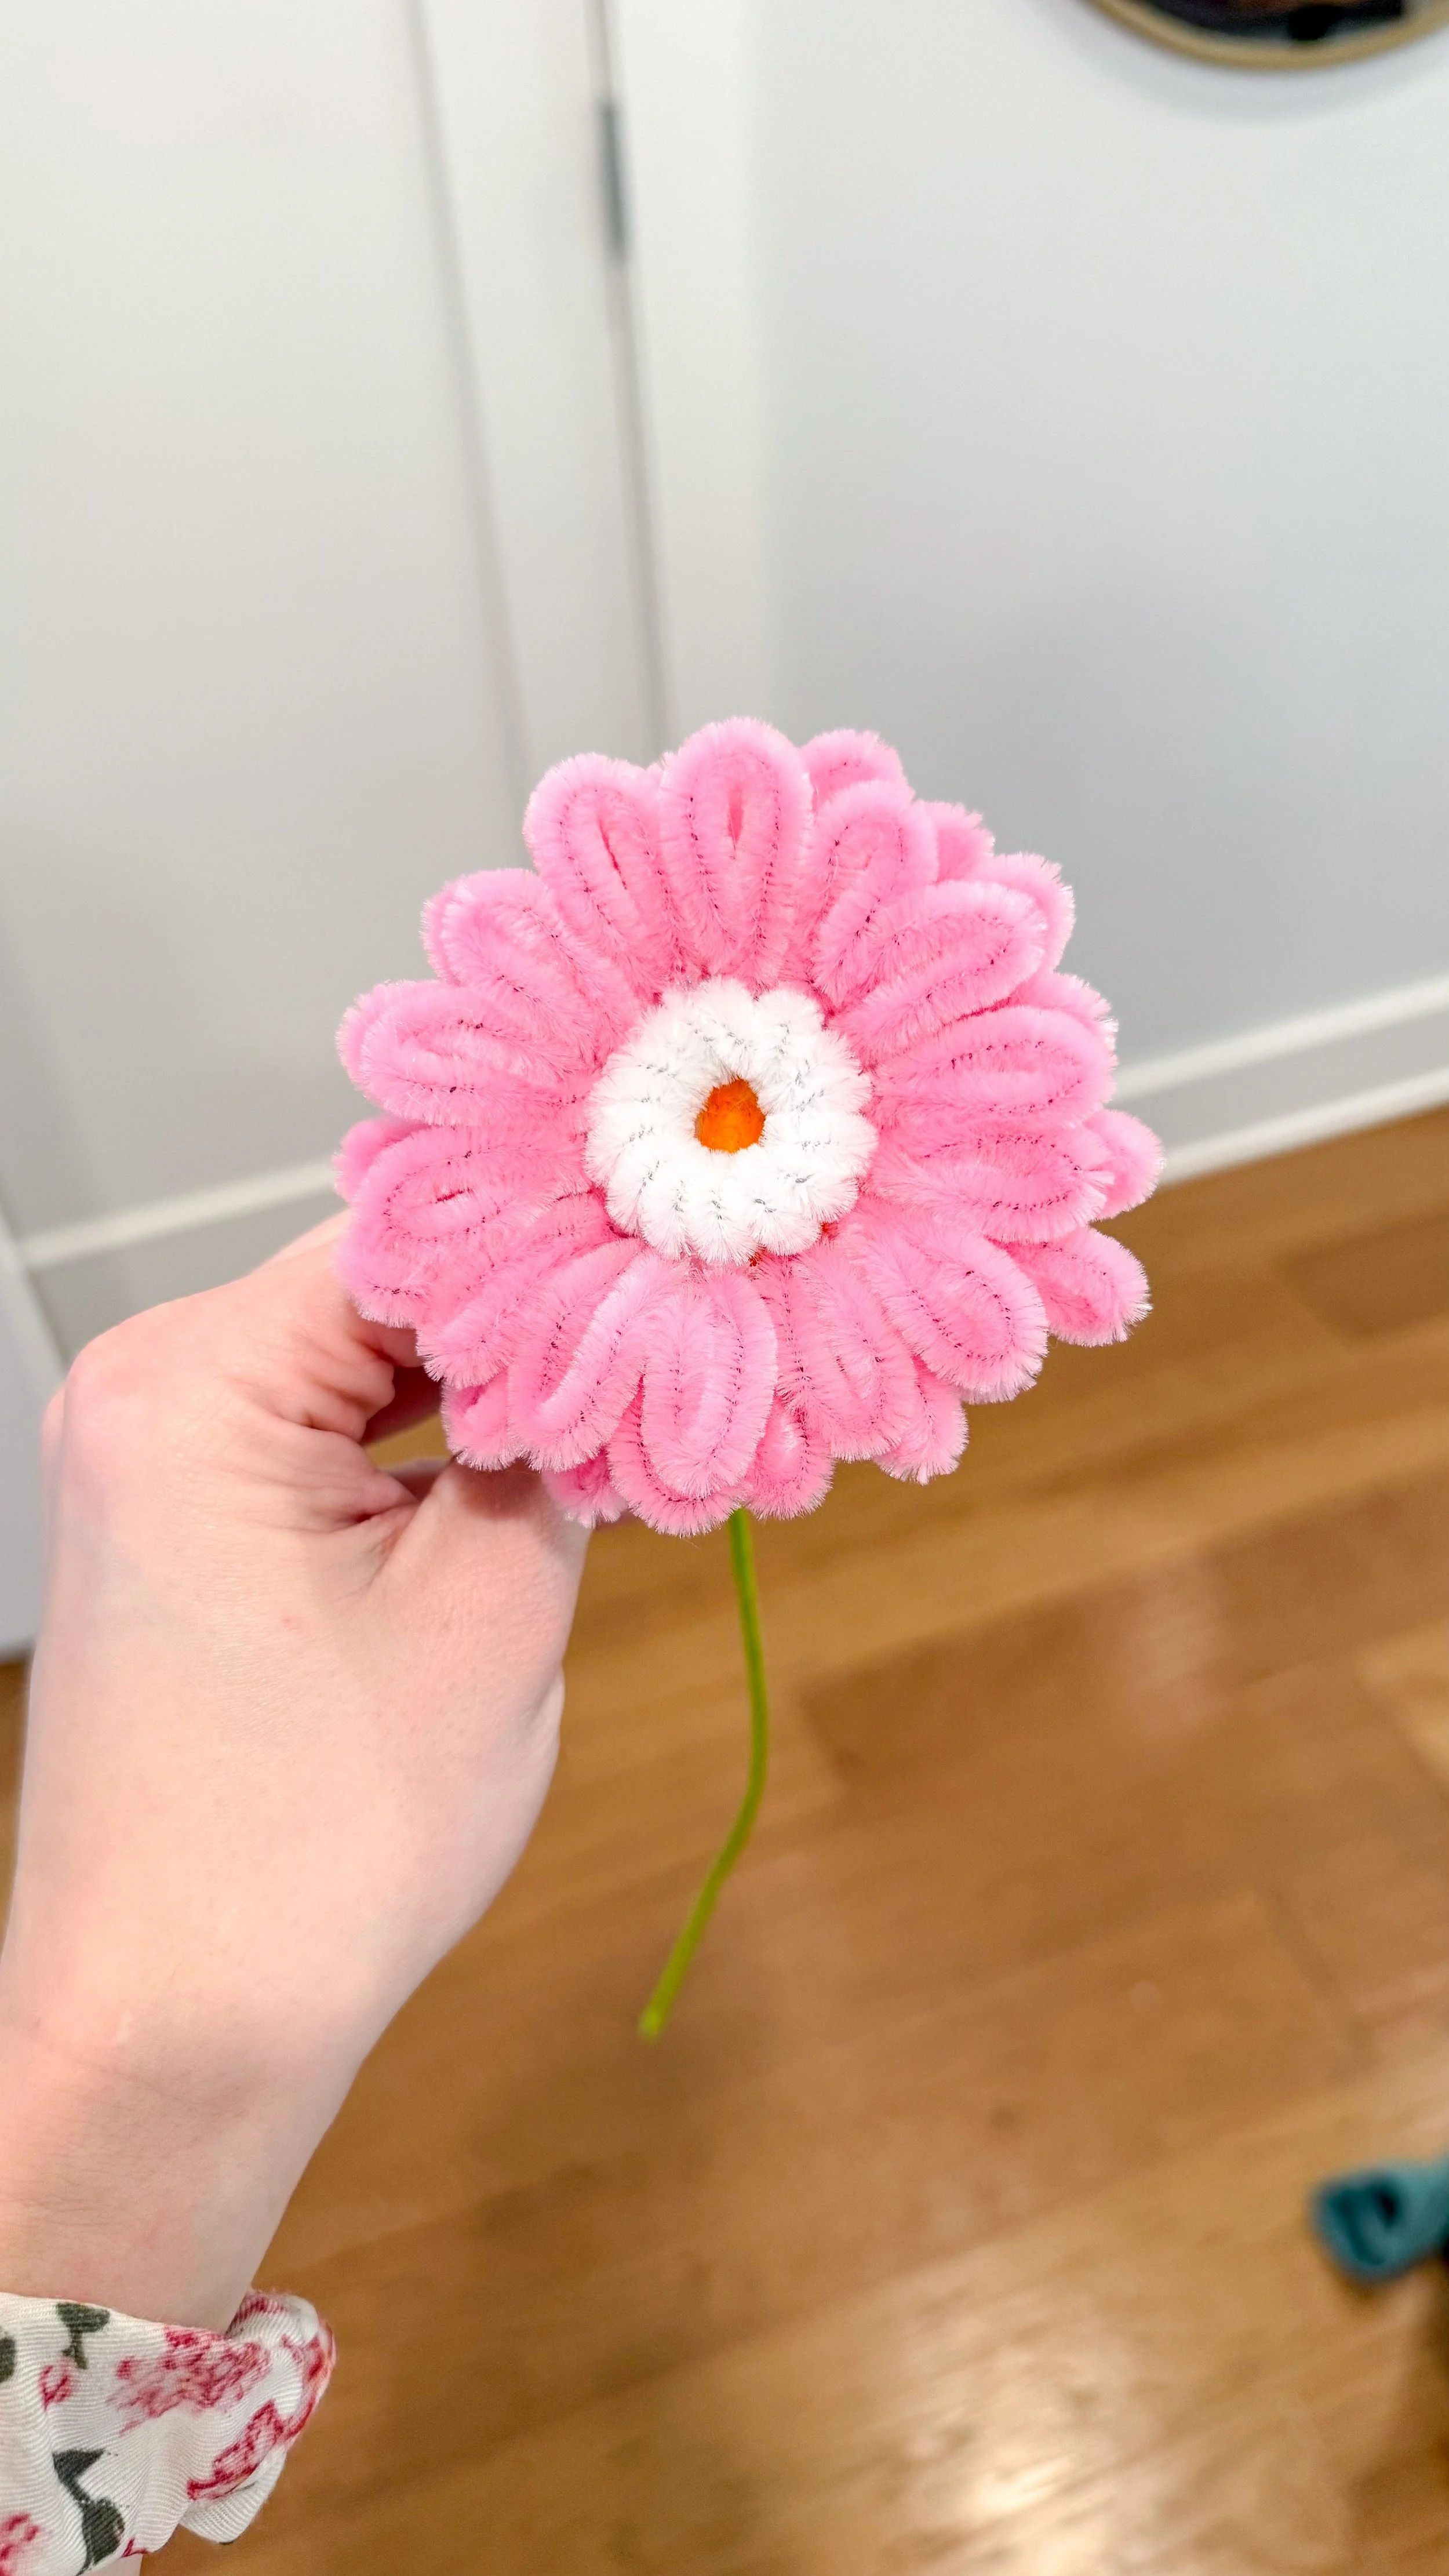
For the next flower you WILL need hot glue. It's a puffy cloud-like flower. I can't find the name for it, but I liked making this one a lot. I took one full length orange pipe cleaner, folded it into halves, cut it and folded it in half again and then do the same thing I did on the previous flower to make the center. For the petals, I took one full length pipe cleaner and, leaving a three or four inch tail on then, wrapped it around a pen five times then twisted together the shorter and longer ends. I removed the pen, pulled the longer tail through the center of the loops and twisted the longer and shorter tail together making a nice, sturdy petal. Each flower will need 5 petals in whatever color you're using. For this flower, I did a pink version and a white version. Whenever I do flowers like this, I really like to make multiple colors because I feel like it just makes things more dimensional. To assemble the flowers I took the tail end of one of the petals and put hot glue on it. Then, I placed a piece of floral wire on that petal where the hot glue was, let it dry and then repeated for the next petal and repeated the process all the way around for all 5 petals. Once the petals are fully cooled, I took the little centerpiece and put some hot glue in the middle in that little indent and then placed the center. I let everything cool completely and separated the petals a little bit. I ended up with these really cute, fluffy cloud-like looking flowers that I really enjoy.
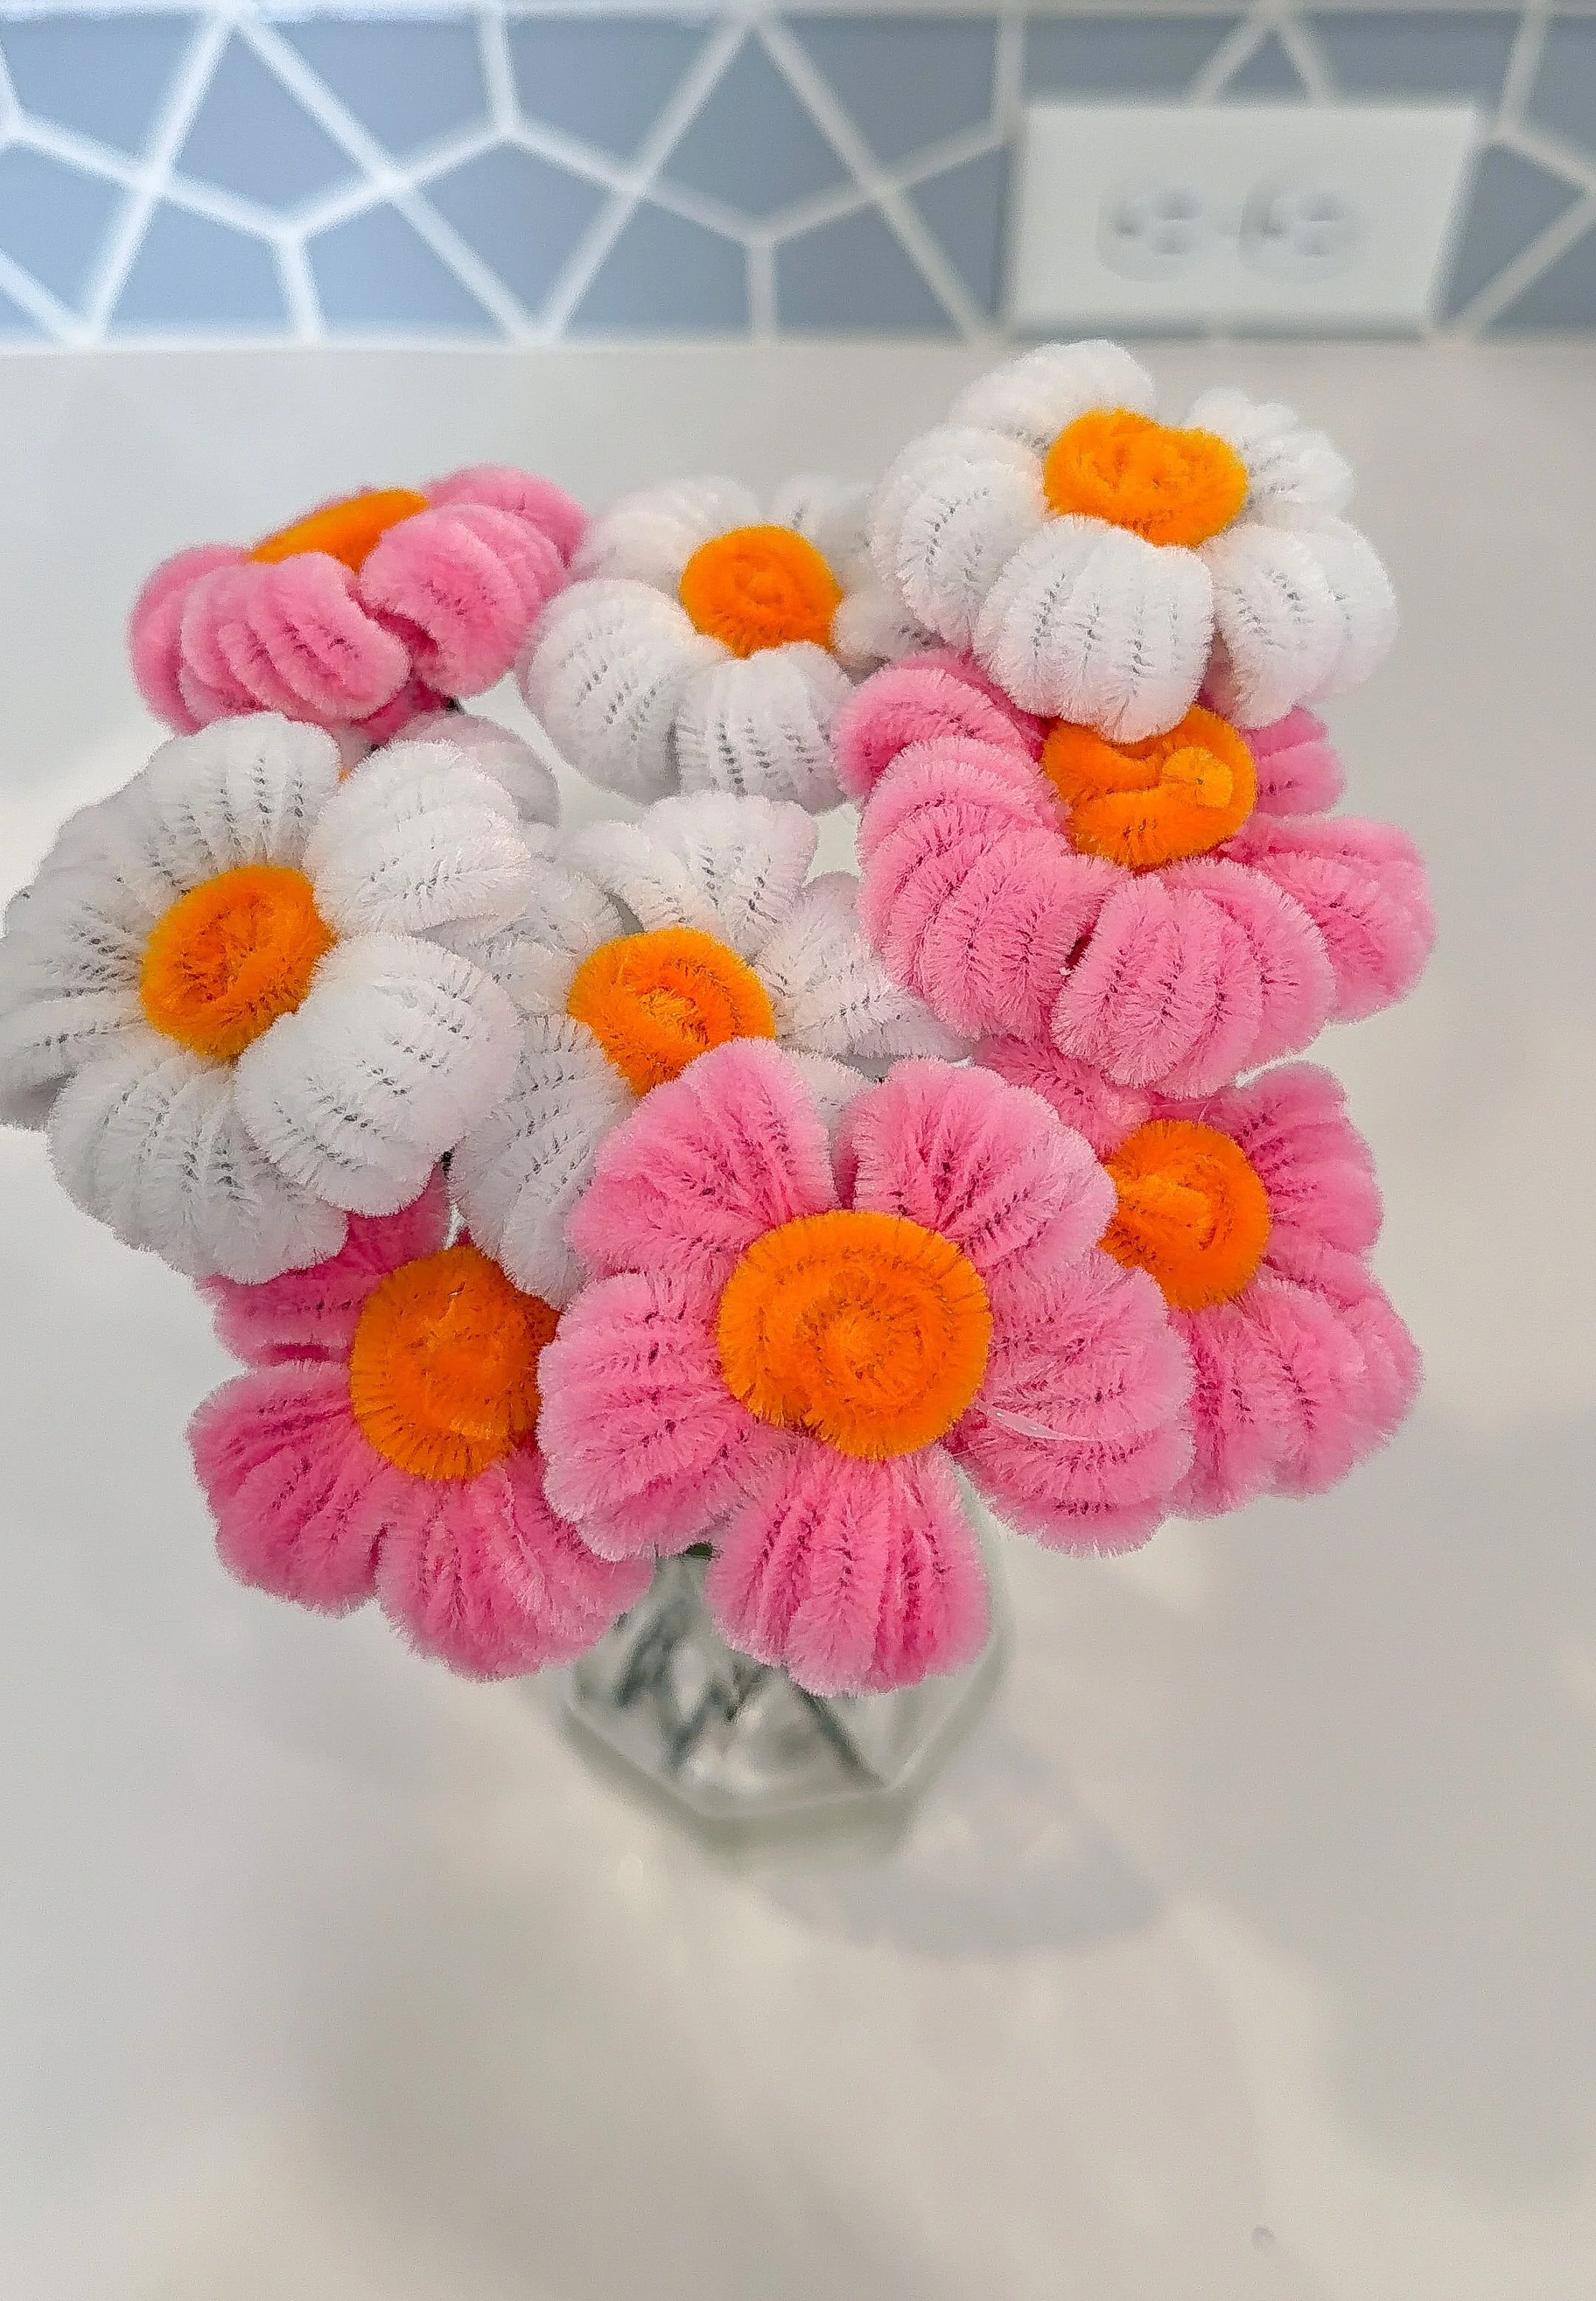
The last flowers are Gerber daisies, one of my favorite flowers. I took an orange pipe cleaner for the center and did the same thing as the previous flowers and created a little circle. For the top part I took a piece of floral wire and wrapped a white pipe cleaner around it nice and tight while continuing to scrunch it up against itself so that it's really tight. Then I took it off the wire and twisted the two ends together, and hot glued that circle on top of the orange circle to create the whole center of the flower. For the petals, I took a full pipe cleaner, folded it in half, clipped it, and then took that half, folded it in half again, bringing one end into the center and twisting it into a loop. I brought the other end into the center and twisted it into a loop, and then bent the very end of it. This gives the double petal for each of the Gerber daisies. I used between 18 and 20 of these double petals, just depending on the size of the center. In addition to the petals, I used two green pipe cleaners and created the leafy stem bottoms that I did in first flower that I will attach when I'm done.
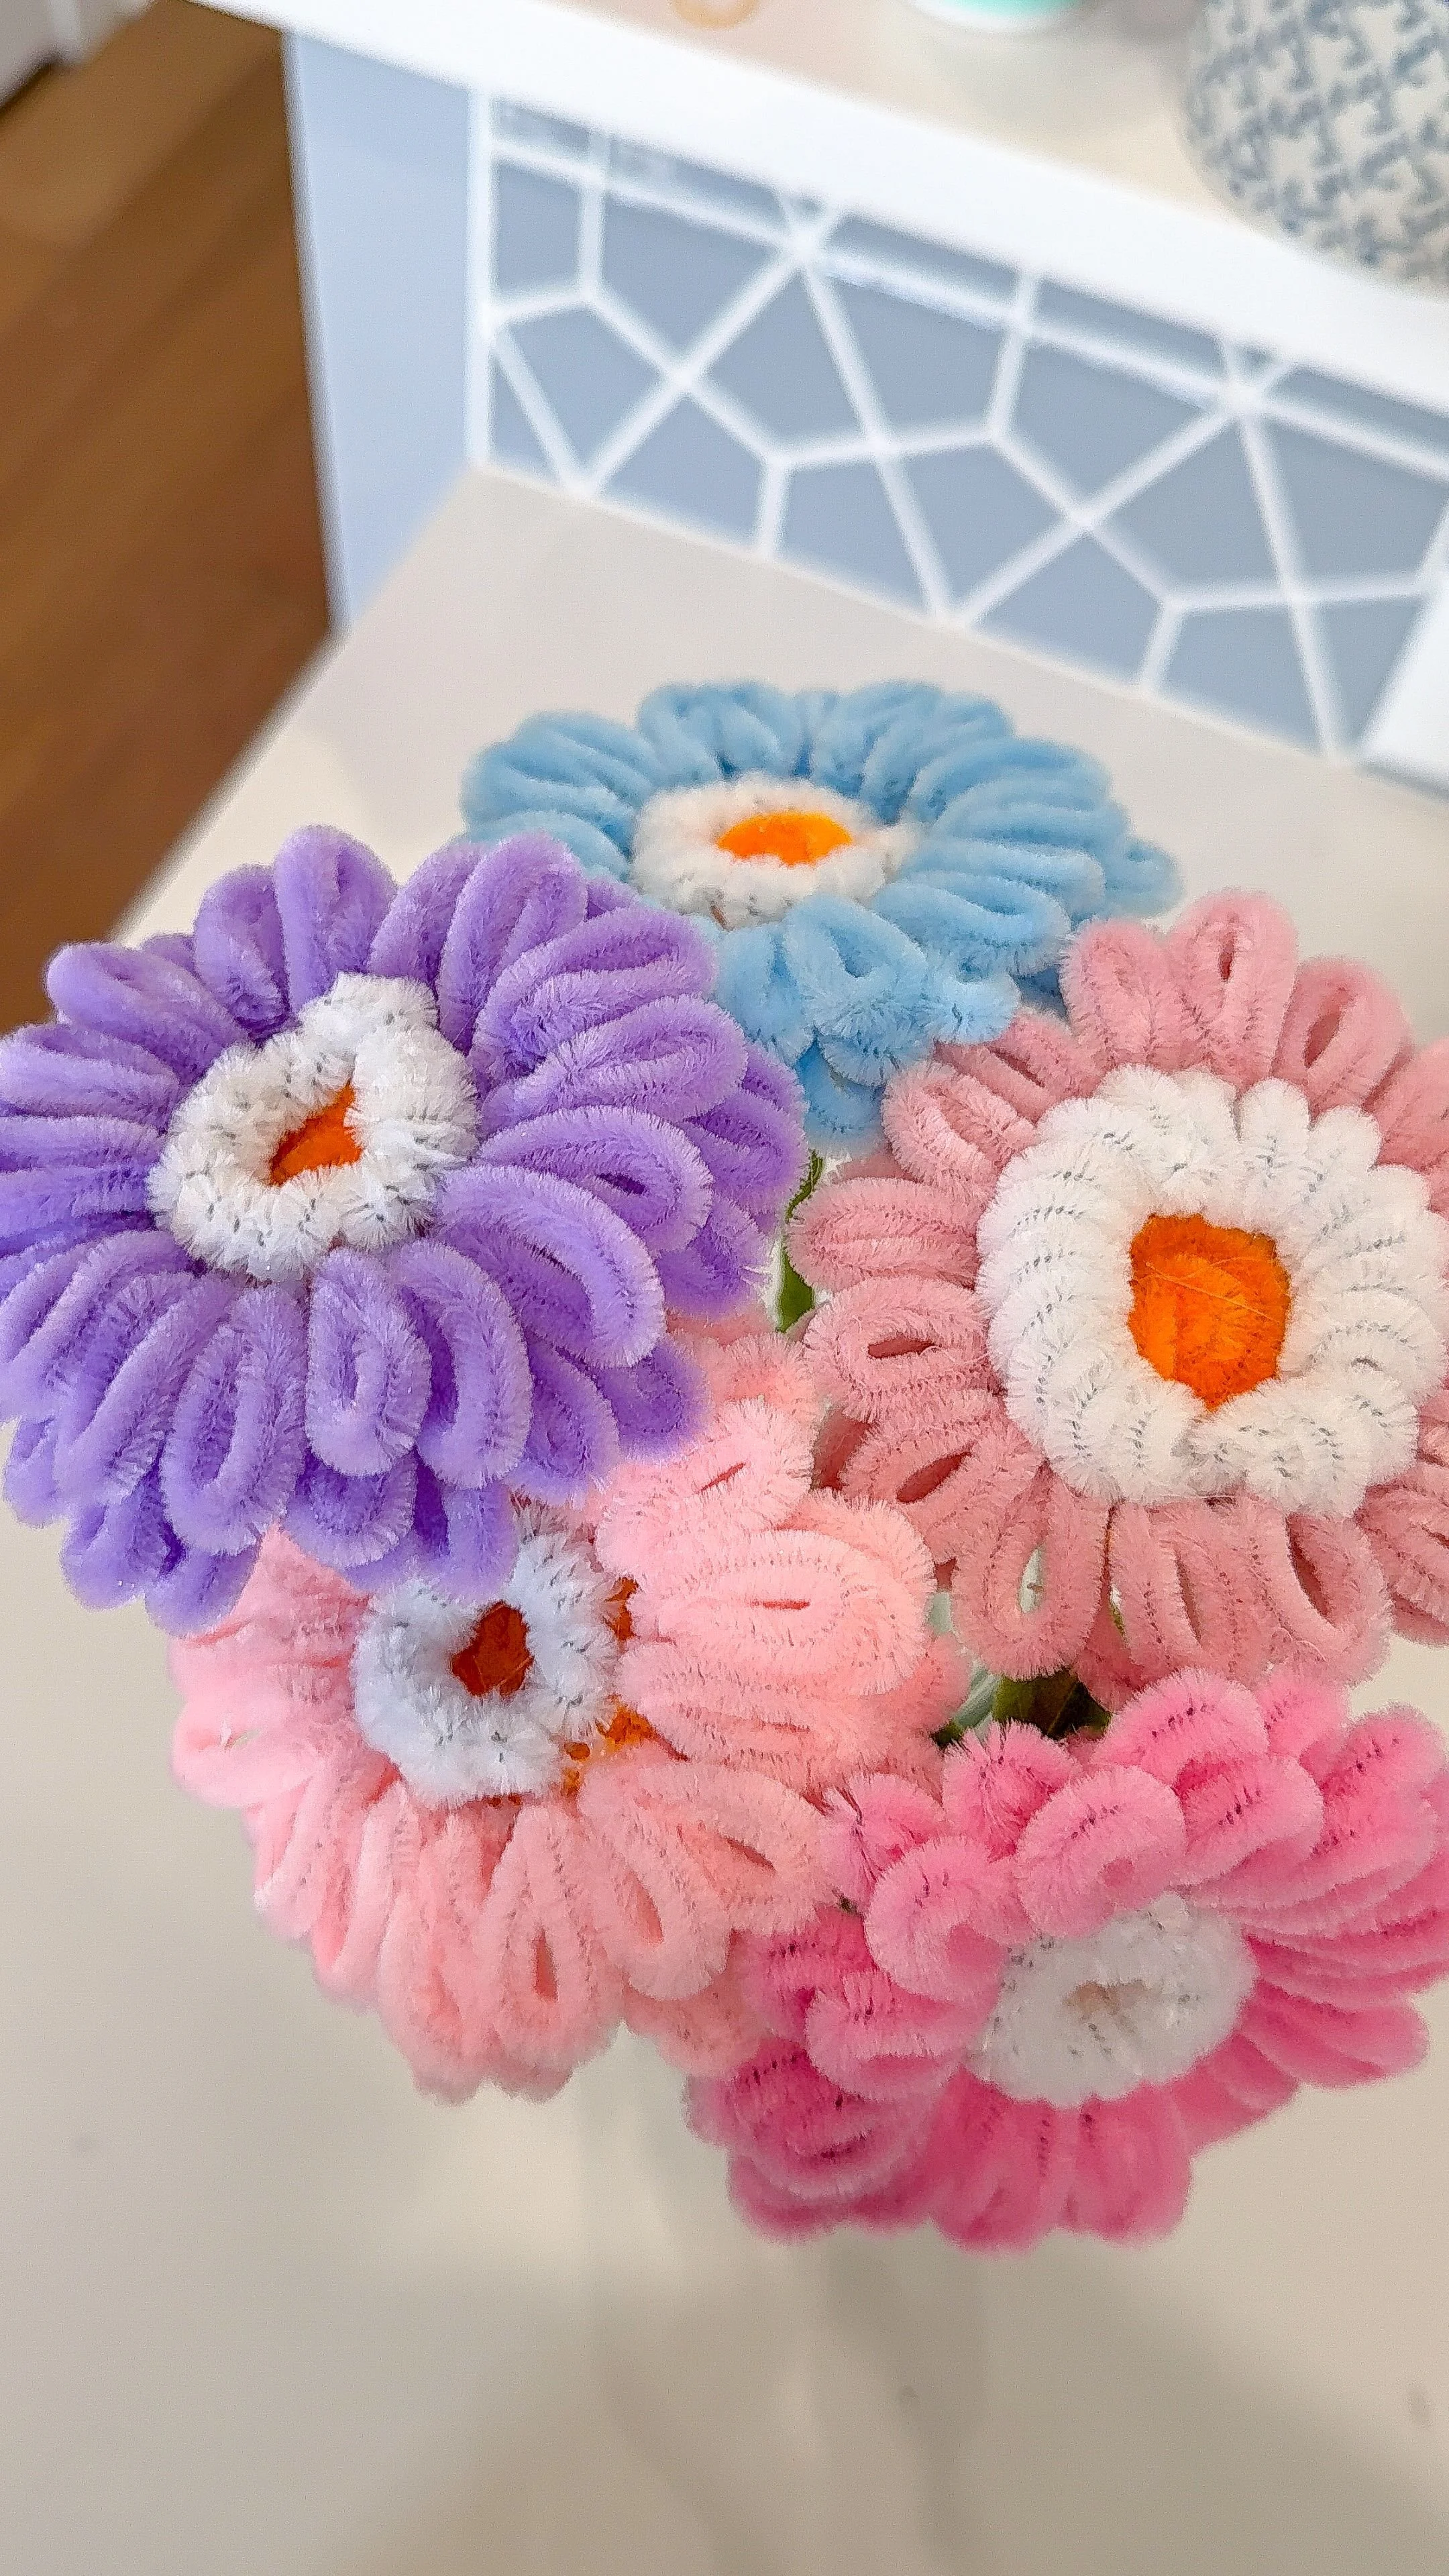
In order to assemble this Gerber daisy, I made sure that the center was facing up. Then, I put glue on the bent part of each of the double petals and glued it to the side of the center because it has two layers of pipe cleaners so it's tall enough to handle this kind of angle for the pipe cleaner, and looks really cool. When you're doing this make sure that the glue is fully cooled before you start doing the back of the flower. Once the hot glue was dry, I did a second row of double petals, and used one more set of petals than I did for the first row. I repeated this all the way around, making sure there wasn't space between flowers. If there was a little bit of space left, I squeezed in an extra set. Once the hot glue was fully dry again, I put the stem pieces on the back. I put glue directly on the leaves and then took a piece of floral wire, put hot glue on that and put it between the two stem pieces. To finish it off I wrapped the stem pieces around the floral wire and wrapped floral tape around that creating some beautiful Gerber daisies. I love that these add a little pop of fun to my home and I don't have to worry about keeping them alive, something I really struggle with when it comes to real flowers. Hopefully this helps you with some of your crafting and creating this spring!